Fuel hose in your vehicle is responsible for delivering gasoline from the tank to the engine in a stable and safe manner.
If a fuel hose becomes cracked, deteriorated, or leaks, it needs immediate repair. Failure to do so will not only result in a loss of power but also increase the risk of fire. If you notice a fuel leak or frequently smell gasoline, the fuel hose may be the problem.
As a vehicle owner, it’s entirely possible to replace the fuel hose yourself, provided you’re well prepared, follow the correct procedures, and exercise caution. Below, we’ll provide detailed instructions for inspecting and replacing fuel hoses.

First, locate the fuel hose
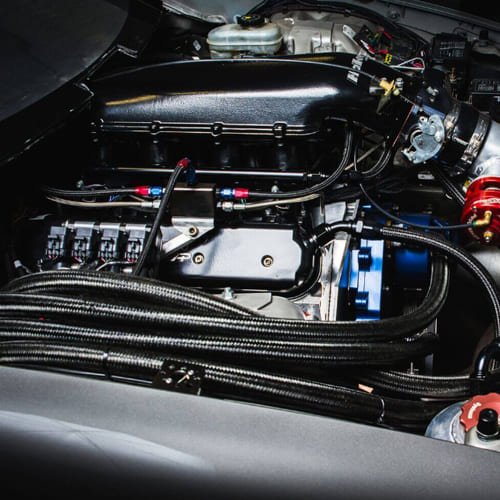
Before you begin, you need to locate the fuel hose. Generally, the fuel hose runs from the fuel tank, along the vehicle’s chassis, to the engine compartment, and finally to the fuel injection system.
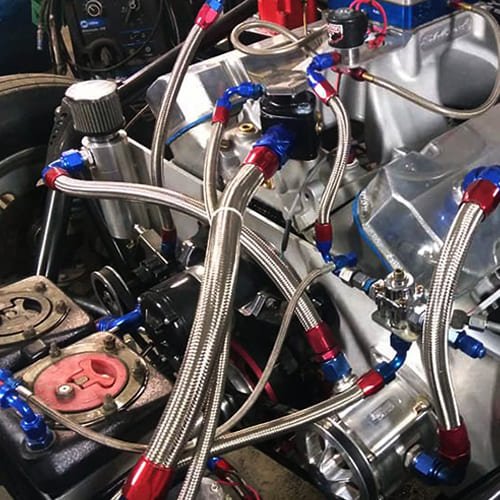
- In the engine compartment: You’ll see short rubber hoses connecting the rigid hose to the engine’s fuel rail. These hoses are most susceptible to deterioration due to their proximity to heat.
- Under the chassis: The long fuel hoses typically use rigid metal or nylon tubing. They run along the side of the vehicle, from the fuel tank to the front of the vehicle.
- Near the fuel tank: There may also be a rubber hose connecting the fuel tank to the pipe.
If you suspect a fuel line leak, you can confirm it by doing the following:
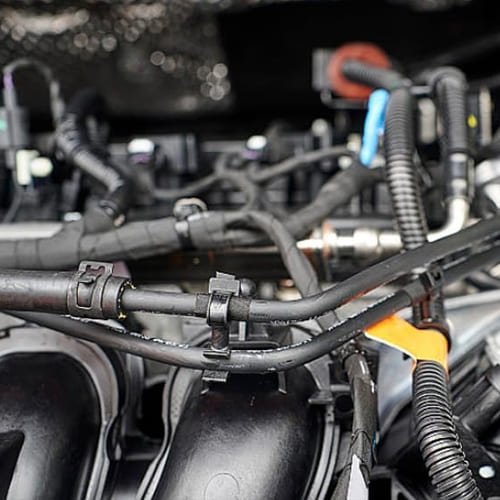
- Open the engine compartment and inspect the hose for cracks or oil seepage.
- Shine a flashlight on the undercarriage to check for oil stains.
- If you smell a strong odor of gasoline, focus on the joints and bends.
For some models, the fuel line is located low, and you may need to crawl under the vehicle to see it clearly. If there is insufficient space, use a jack to lift the vehicle and secure it with stands. Never rely solely on a jack to support the vehicle, as this is extremely dangerous.
Gather the necessary tools and materials
Before replacing the fuel line, you will need the following tools and accessories:
- Screwdriver (for removing the clamp);
- Pliers (for tightening or removing the clamp);
- Utility knife or pipe cutters (for cutting the new fuel line);
- Jack and stand (for accessing the vehicle);
- Replacement fuel line (make sure the diameter and material match the original);
- New clamp (new is recommended to prevent the old one from loosening);
- Rag and oil pan (to catch any remaining gasoline and keep the work area clean);
- Gloves and goggles (to prevent gasoline from damaging your skin and eyes);
- Fire extinguisher (for emergency use).
Safety Preparations
Fuel is volatile and flammable, so you must take the following safety precautions before proceeding:
- Relieve fuel pressure: Unplug the fuel pump fuse and allow the engine to run until the fuel is consumed and the engine automatically shuts off. This will prevent fuel from spraying when removing the line.
- Disconnect the negative terminal on the battery to avoid sparks during this operation.
- Maintain ventilation: It’s best to work outdoors or in a well-ventilated garage.
- Have a fire extinguisher: Although you won’t need it in most cases, it’s essential to have it readily available.
- Wear protective equipment: Wear gloves and goggles to avoid direct contact with skin or eye contact with gasoline.
Removing the old fuel line
Once you’ve identified the fuel line to be replaced, follow these steps:
- Place an oil pan under the fuel line to prevent gasoline from dripping and contaminating the floor.
- Use pliers to grasp the clamp and slide it toward the center of the line.
- Gently twist the fuel line manually and then slowly remove it. Be careful not to pull violently to avoid damaging the connector.
- If the clamp is rusted, spray it with penetrating lubricant before trying again.
- After removing, wipe the connector surface with a rag to keep it clean so that the new line can seal tightly.
If the fuel line is located on the undercarriage, you may need to lie on the ground or lift the vehicle to get under it. Be sure the bracket is secure to avoid accidents.
You need to understand the different types of fuel lines.
When choosing a new fuel line, first confirm the type used on your vehicle:
- Rubber fuel lines: Flexible and commonly used at the connection between the engine compartment and the fuel tank, but they age quickly.
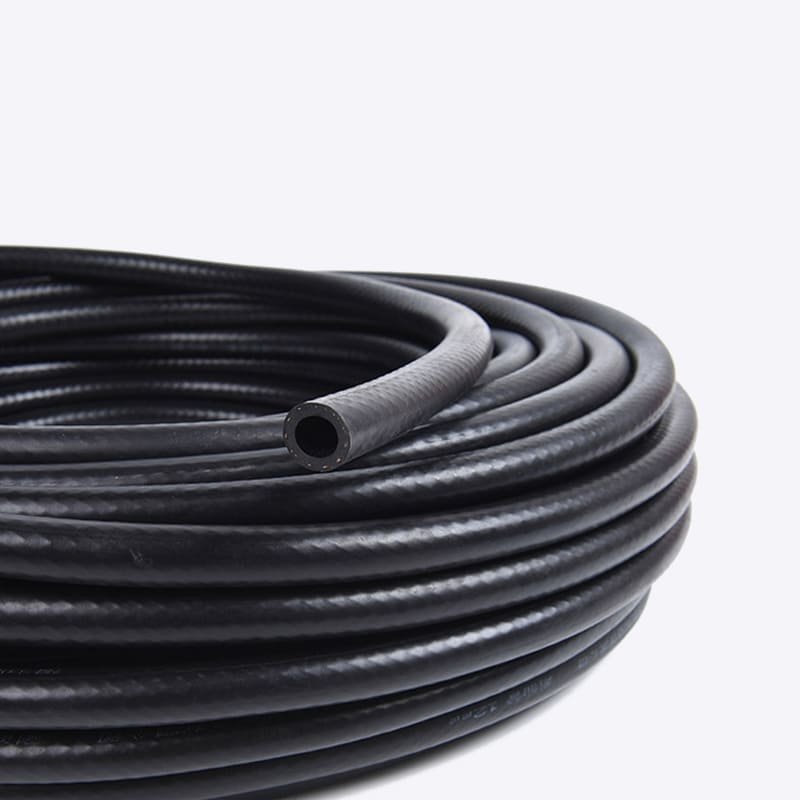
- Nylon fuel lines: Widely used in modern vehicles, they are lightweight, pressure-resistant, and corrosion-resistant.

- Hard metal pipes: Often located in the chassis and used to transport fuel over long distances. They are durable but difficult to replace.
Rubber hoses usually require replacement because they are more prone to cracks or leaks. Nylon and metal pipes are generally more durable and require less frequent replacement unless severely damaged. Before purchasing, confirm the type of pipe to avoid making the wrong choice.
Installing a New Fuel Line
When replacing a new fuel line, follow these steps:
- Use the old pipe as a sample to measure and cut the new pipe. It’s best to make it slightly longer than the old pipe to avoid over-tightening it.
- Pre-install clamps on both ends of the new pipe.
- Insert the new pipe into the fitting, ensuring it is fully seated. If the joint is too tight, apply a small amount of engine oil to the connector to aid installation.
- Move the clamp to the connector and tighten it with pliers. Ensure the clamp is positioned correctly, leaving no gaps.
- After installation, run your hand along the pipe to confirm it is secure.
Inspection and Finishing
After completing the installation, you need to perform the following checks:
- Reconnect the battery.
- Turn on the ignition, but do not start the engine. Allow the fuel pump to operate for a few seconds to pressurize the pipe.
- Carefully inspect all joints for oil leakage.
- Once all connections are correct, start the engine again, let it idle for a few minutes, and continue to observe.
- Dispose of the old fuel pipe and any waste. Do not discard it carelessly. Instead, take it to a designated disposal site or place it in a sealed bag for disposal.
Common Mistakes and Precautions
Many first-time car owners make the following mistakes:
- Cutting the new pipe too short: If the new pipe is too short, the joint will be subjected to excessive stress, making it more susceptible to leakage.
- Reusing old clamps: Old clamps may become loose or rusty, making them susceptible to failure.
- Removing the hose without releasing the oil pressure can cause fuel to spray out, which is very dangerous.
- Using the wrong materials: Use only fuel-specific hoses; other standard hoses will corrode with gasoline.
Temporary Repair Methods
If you experience a fuel line leak while driving and are unable to replace it, you can take temporary measures:
- Fuel line repair kits: Suitable for repairing small cracks, typically include a fitting and a replacement hose, and are effective in the short term.
- Fuel line repair tape: Can be used to temporarily seal leaks. However, it lacks heat resistance and durability, making it suitable only for emergency situations.
Summary
Replacing a fuel line is not difficult. As long as you prepare your tools in advance, understand the location and type of the fuel line, and strictly follow safety procedures, you can complete the task smoothly. Doing it yourself not only saves money compared to going to a repair shop, but also allows you to better understand how your vehicle works.
If you notice a crack or leak in the fuel line, don’t delay; replace it immediately.