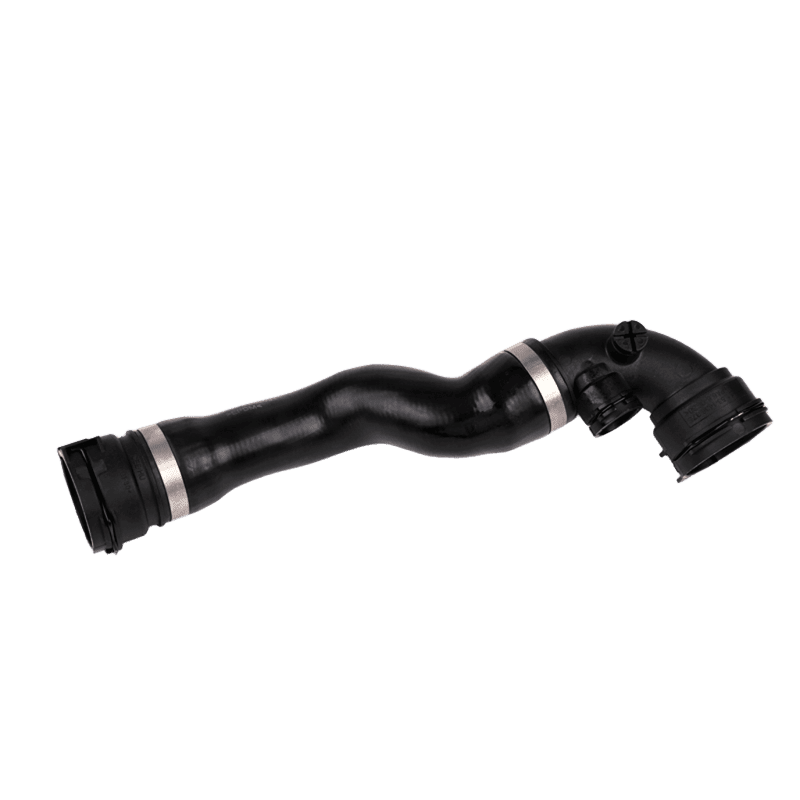
Radiator hoses mainly transport coolant between the radiator and the engine, helping to regulate the engine’s temperature. Over time, these hoses may get damaged if exposed to high temperatures for too long. It’s important to replace the radiator hose in time. This article will help you understand how to replace a radiator hose.


Next, let’s take a look at the tools needed and the step-by-step guide to replacing the radiator hose.
Steps to Replace the Radiator Hose:
Prepare the Vehicle:
Make sure the car is turned off for at least 30 minutes to allow the engine to cool down. This helps avoid burns.
Drain the Coolant:
Find the drain plug at the bottom of the radiator, unscrew it, and let the coolant drain out.
Remove the Old Hose:
Locate the hose and use a screwdriver to loosen the clamps holding the radiator hose in place, then remove the old hose.
Check the Connection Points:
Before installing the new hose, check the connection points for damage. Clean them to ensure the new hose fits securely.
Install the New Radiator Hose:
To make installation easier, you can add some water to the end of the radiator hose for lubrication. Use hose clamps to secure the hose, but don’t tighten them too much, as this may damage the hose.
Refill the Coolant:
To avoid air pockets in the system, start the engine and run it for a few minutes with the radiator cap off. This will allow the coolant to circulate and expel any trapped air.
Check for Leaks:
After adding the coolant, check the new hose and surrounding areas for leaks. During driving, keep an eye on the car’s temperature gauge to make sure it doesn’t overheat.
Conclusion
Following these steps will save you time and money. If you need wholesale radiator hoses, feel free to contact us.


