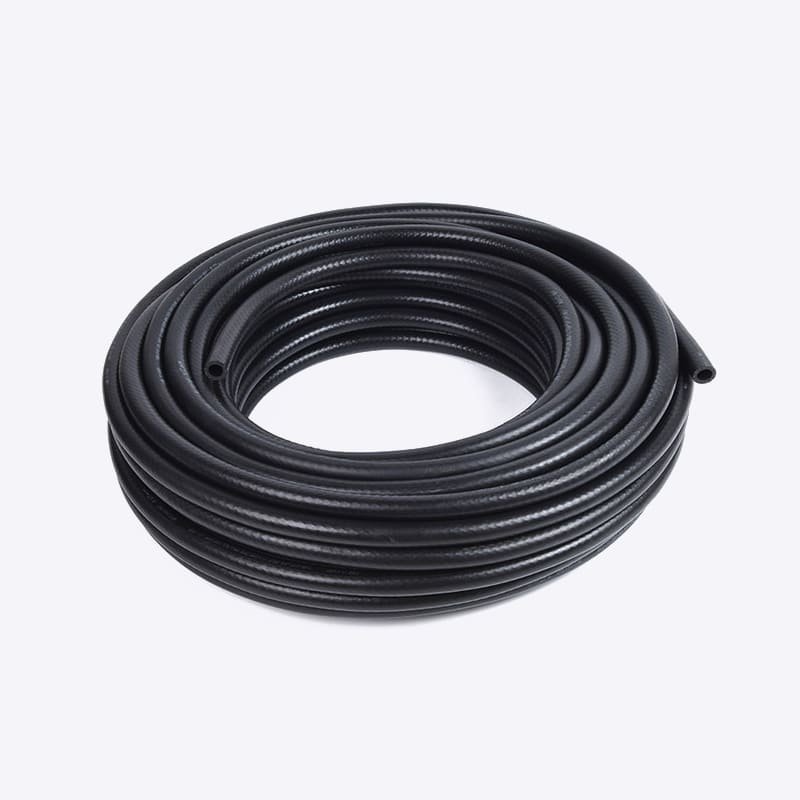
Rubber fuel lines are widely used in automotive, marine, and industrial applications for their flexibility and durability. Kinking a fuel hose can restrict fuel flow, leading to poor engine performance, stalling, and other problems. In this article, we’ll explain how to bend fuel lines without kinking.
Why do rubber fuel lines kink?
It’s important to understand the causes of kinks:
- Excessive bend radius: Every hose has a minimum bend radius. If you bend tighter than this, it can easily become damaged.
- Hose construction: Standard rubber hoses without reinforcement are more susceptible to collapse.
- Improper installation routing: Sharp bends and forcing the hose around obstructions can cause kinks.
- High temperature and aging: Over time, older hoses become less flexible and more prone to kinking. Understanding these causes can help you avoid these problems.
Tools and Materials You’ll Need
To properly bend and install rubber fuel lines, you’ll need the following:
- Fuel-grade rubber hose
- Heat gun or container of hot water (to soften the hose)
- External support spring or spiral hose guard
- Internal bend spring (optional)
- Round object or pipe (to form the bend)
- Fuel hose connector
- High-quality hose clamps
- Tape measure and marker
- Safety gloves and goggles
How to Bend Rubber Fuel Line Without Kinking
Step 1: Choose the Right Hose
Reinforced or braided fuel hoses are more resistant to collapse than regular rubber hoses.
Step 2: Measure and Mark
Measure the desired hose length before cutting, and mark it to align with the bend area for accuracy.
Step 3: Heat (Optional)
Gently heat the hose with a heat gun or immerse it in hot water (approximately 70-80°C).
This softens the rubber, making it easier to bend without collapsing.
Step 4: Use a Bend Aid
There are several ways to prevent kinking during bending:
Method A: External Hose Spring or Coil Guard
Slide a metal or plastic spring over the hose.
Bend the hose to the desired radius.
The spring distributes pressure evenly and prevents collapse.
Method B: Internal Bend Spring
Insert a flexible spring inside the hose.
Bend it into the desired shape.
Remove the spring after the bend is complete.
Method C: Heating and Forming Around a Mandrel
After softening the hose, bend it around a round object (pipe, socket, or clamp).
Hold until it cools and sets.
Method D: Using a 45° or 90° Hose Fitting
For very sharp bends, fittings are the safest solution.
Cut the hose and connect it with an angled fitting, rather than forcing a sharp bend.
Step 5: Install and Secure
Push the hose completely onto the fitting, leaving 2-3 mm of clearance at the end.
Use an appropriate fuel injection clamp to secure it—avoid worm gear clamps, which could cut into the hose.
Route the hose so that it does not rub against sharp edges or hot components.
Common Mistakes to Avoid
Using non-fuel hoses: Heater hoses or vacuum hoses can quickly kink and degrade.
Overtightening clamps: This can damage the hose and cause leaks.
Bending too tightly: Avoid excessive bends and adhere to the minimum bend radius.
Installing near hot exhaust parts: Heat can affect the rubber and increase the risk of collapse.
Using cable ties to bend: These can pinch the hose and restrict flow.
Conclusion
By selecting the appropriate hose, planning the installation route, utilizing support springs or fittings, and applying heat when necessary, you can achieve a smooth, safe, and professional installation.
Following these steps will ensure proper fuel flow, safety, and long-term durability.