If your car’s windshield rubber seal is cracked, leaking, or coming loose, it’s time to fix it. Don’t worry, replacing it isn’t as hard as it sounds. In this guide, you’ll learn everything you need to know, from spotting the problem to replacing the seal yourself.
To replace a car windshield rubber seal, you remove the old seal carefully with a trim tool, clean the frame, apply urethane or another adhesive if needed, and press the new rubber seal around the glass edges. Make sure there aren’t any air gaps or folds, then let it dry completely before driving.
Now that you know the basic steps, let’s go through everything in detail
How to Tell When You Need to Replace a Windshield Rubber Seal
It’s pretty easy to tell when your windshield seal needs to be replaced. Here are the most common signs:
- Water leaks inside the car after washing or when it rains.
- Wind noise or whistling when you’re driving fast.
- Cracks or loose spots along the rubber edge.
- Fog or moisture showing up inside your windshield.
- A musty smell near the edges of the glass.
If you see any of these problems, the seal isn’t doing its job anymore, and replacing it will help keep your car safe and quiet.
Tools and Materials You’ll Need
You’ll need:
- A trim removal tool or a small plastic pry bar
- A razor blade or utility knife
- Some glass cleaner or rubbing alcohol
- Microfiber cloths
- A new windshield rubber seal (check that it fits your car)
- Automotive urethane sealant (this is the best windshield sealant to use)
- Gloves to protect your hands
Having the right tools makes a huge difference, especially if you want your new seal to look professional.
Step-by-Step Windshield Rubber Seal Replacement
Here’s how to do the job from start to finish:
Get Ready
Park your car in a shaded, dry spot. Turn off the car and make sure the windshield is cool to the touch.
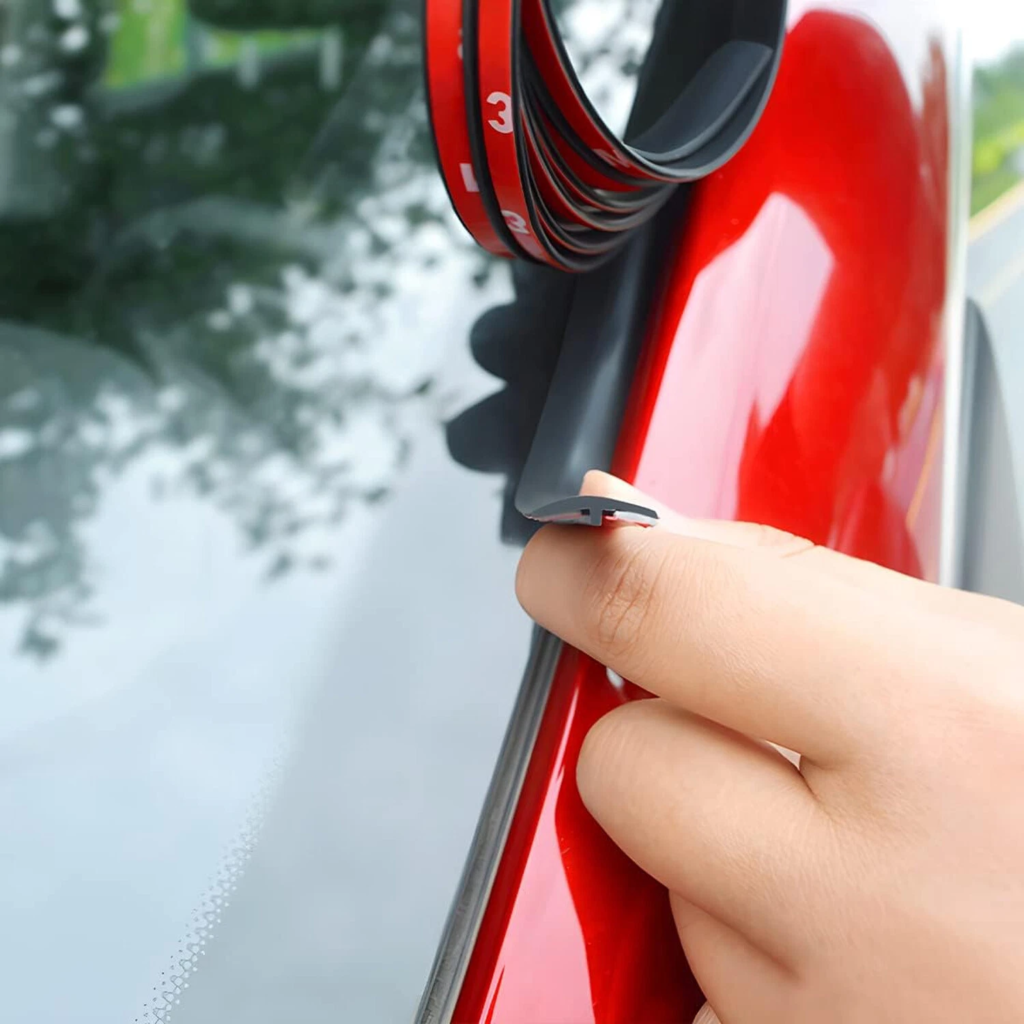
Remove the Old Seal
Use your trim tool to gently lift the rubber seal away from the glass. Take your time so you don’t scratch the paint or chip the windshield. Cut through any tough glue with your razor blade.
Clean the Frame
Use alcohol or glass cleaner to remove old glue, dirt, and dust. The cleaner the surface, the better the new seal will stick.
Apply the Adhesive
Some seals have built-in adhesive, but others need you to apply a thin bead of urethane sealant around the edge. Follow the instructions on the sealant tube.
Install the New Seal
Line up the new seal and press it gently around the entire edge of the windshield. Make sure there are no gaps or folds. For tight corners, you can use a rubber mallet to help it fit snugly.
Check Everything
Run your fingers around the edge to make sure it’s smooth and even. If something looks off, fix it now before it dries.
Let It Cure
Wait at least 24 hours before washing your car or driving in the rain. The adhesive needs time to set properly.
That’s it, your windshield rubber seal installation is complete!
Can You Reseal a Windshield Instead of Replacing It?

Sometimes, yes. If your rubber seal is still soft and not cracked, you might only need to reseal it.
Clean the area first, then apply a small bead of urethane sealant or silicone around the leak. Smooth it out with your finger and let it dry.
If the seal is hard, brittle, or falling apart, replacing it completely is the better choice. A DIY windshield seal repair can help short term, but a new seal lasts much longer.
Common Mistakes to Avoid
Even simple jobs can go wrong if you’re not careful. Watch out for these common mistakes:
Not cleaning the frame well enough, the old glue stops the new seal from sticking.
Using household silicone it’s not strong enough for car glass.
Stretching the seal while installing it causes gaps later.
Not waiting long enough for curing, if you rush it, it’ll leak again.
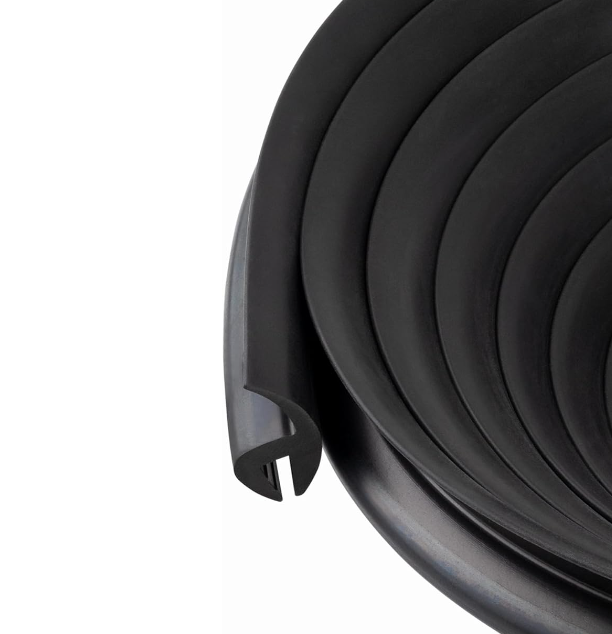
How to Choose the Right Windshield Rubber Seal
Picking the right seal is important. Here’s what to look for:
Material:
- EPDM rubber is the most common and lasts well in any weather.
- Silicone rubber works best in hot or sunny places.
- Fit: Make sure the seal matches your car’s make and model.
- Design: Some seals are “self-sealing,” while others need adhesive.
- Quality: Always buy from a trusted brand or windshield molding replacement supplier.
Getting the right seal now saves you from having to redo the job later.
If you want to learn more about types, materials, and how to choose the right seal, check our complete windshield rubber seal guide.
Tips for Taking Care of Your Windshield Seal
Once you’ve replaced your seal, keeping it in good shape is easy:
- Wash the rubber edges whenever you wash your car.
- Wipe on a rubber protectant every few months.
- Don’t use oily or petroleum-based cleaners.
- Try to park in the shade when possible.
- Check the seal now and then for small cracks.
- Regular car window seal maintenance helps your new seal last for years.
FAQs
How long does a windshield rubber seal last?
Usually, if you take good care of it, it can last about 8 to 10 years.
Can you replace the seal without removing the glass?
If the seal is a simple trim piece and not glued on, then yes.
How long does it take to replace it?
Usually about 1–2 hours for most cars.
Will replacing the seal stop leaks?
Yes, if the leak comes from the rubber seal and not from a cracked windshield.
Can you reuse the old seal?
No, once a seal is stretched or dried out, it won’t work properly again.
Summary
Replacing the windshield rubber seal helps prevent water leaks and wind noise, and it’s a task that can be completed with some time and patience.
Are you looking for reliable windshield rubber seals? We offer OEM and wholesale windshield rubber seals with custom profiles, stable quality, and fast delivery.
Contact us today for free samples and a quote.