Weatherstripping helps keep your home warm in the winter and cool in the summer. It not only maintains a comfortable environment but also prevents insects from entering the house. Cu toate acestea, there are many types of weatherstripping, and it can be confusing to know which one is right for you.
This guide looks at weatherstripping, how to know what you need, different materials, how to install it, and the benefits of good weatherstripping
Weatherstripping around doors and windows helps to keep drafts out, save energy, and make your home more comfortable.
What is a Seal Strip for Doors and Windows?
Seals or weatherstripping are materials used to seal gaps around doors, windows, and other openings, preventing wind, apă, praf, and noise from entering the home. They are typically made from materials like rubber, spumă, silicon, or vinyl. Proper installation of weatherstripping can help save energy by maintaining indoor temperatures, making your home more comfortable, and even improving its appearance.
How Do I Know If I Need Weatherstripping?
Knowing if you need new weatherstripping is key to keeping your home efficient. Look for these signs:
Inspecție vizuală
Check the edges of doors and windows for any visible gaps, especially in older buildings. If weatherstripping has already been installed, inspect it for signs of wear or detachment due to prolonged use.
Feel
Feel for cold air coming in around doors or windows.
Higher Energy Bills
A sudden increase can mean the air is getting out.
Visible Gaps or Cracks
Check frames for any openings that could let air in.
Condensation on Windows
Too much moisture can mean you don’t have a good seal.
If you see any of these signs, it’s time to think about new weatherstripping. Asemenea, check your weatherstripping every so often, especially before and after the seasons change, to make sure it’s still in good shape.
Steps to check if you need to install weather stripping
Inspecție vizuală: Check for visible gaps, cracks, or worn weather stripping around doors and windows
Touch: Put your hand on the edge of the door or window to see if you can feel airflow or temperature difference
Paper test: Put a piece of paper in the gap of the closed window and try to move the paper. If the paper can be pulled out, it means the seal is not good.
If you need door and window seals, Vă rugăm să ne contactați
Types of Materials for Weatherstripping
There are several materials commonly used for weatherstripping, fiecare cu propriile sale beneficii:
Foam tape
It is made of closed-cell foam and comes in different shapes and thicknesses. It is commonly used on doors, windows, and other openings.
This tape is easy to install and is great for sealing small gaps. It is flexible and can be easily compressed.
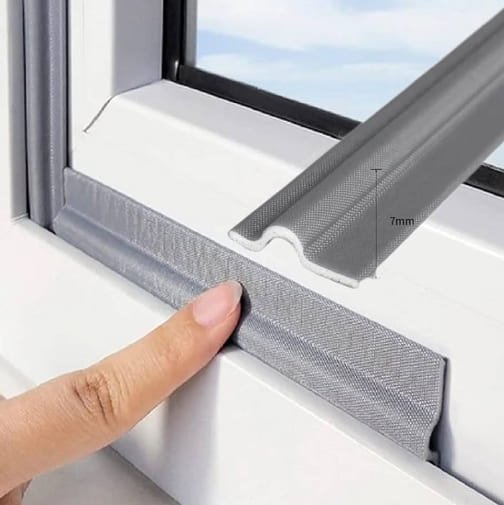
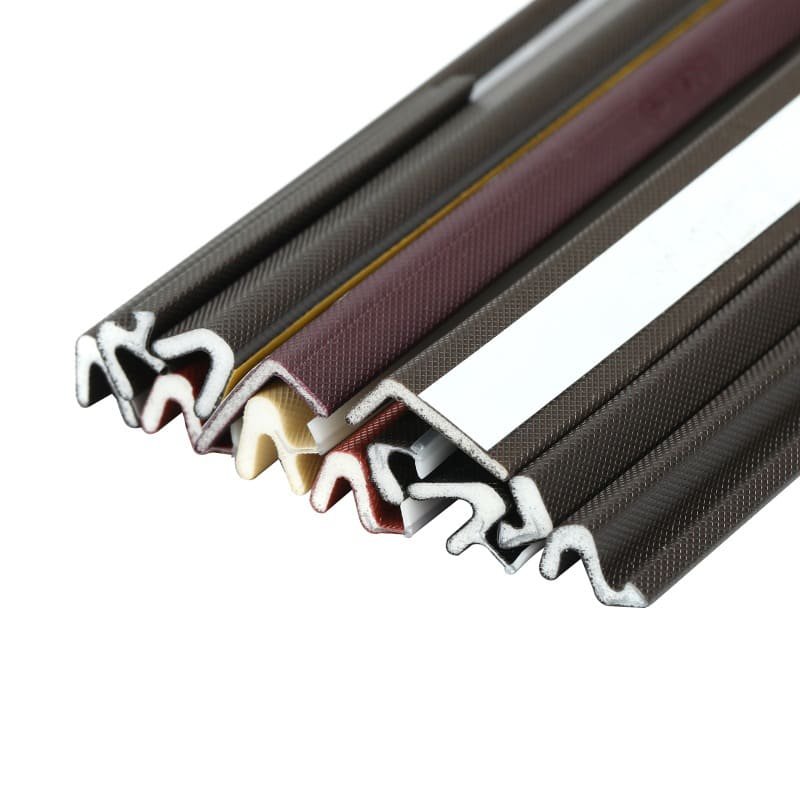
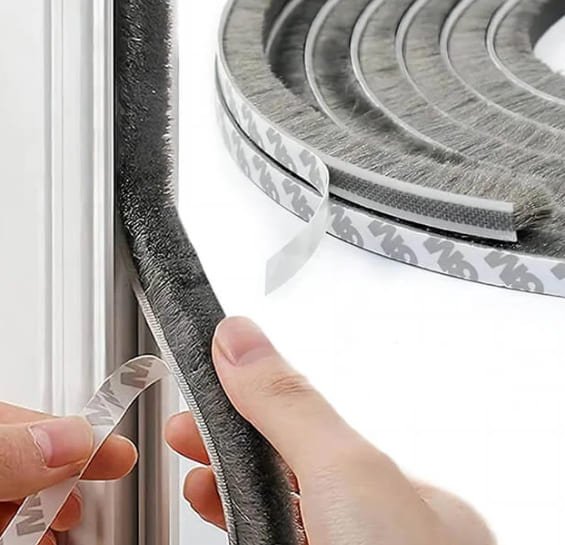
V strips (tension seals)
V-strips, also called tension seals, are flexible “V” shaped strips made of materials like rubber or vinyl, these are great for double-hung windows and sliding doors. They create a tight seal and are resistant to wear and tear.
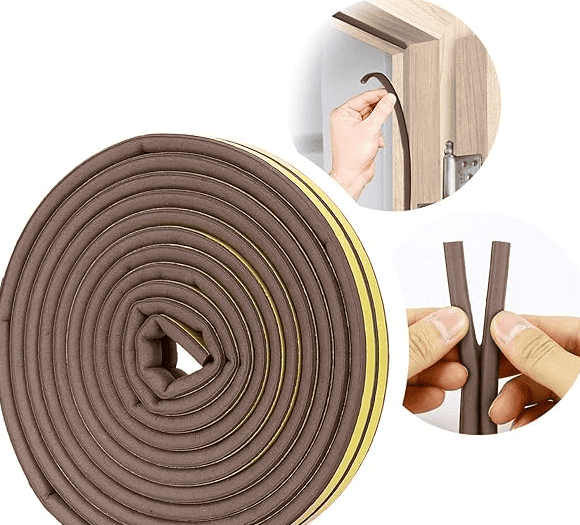
Tubular rubber or vinyl
These materials are great for high-traffic areas, such as door bottoms. They provide a long-lasting seal.
Felt
Made of compressed felt, it is often used for light sealing needs, ideal for low-traffic areas, and best for doors or windows that don’t require a tight seal. It’s not as durable but is often used for seasonal applications
Choosing the right material depends on your specific needs, including the type of window or door and the climate in your area.
What Are the Main Types of Weatherstrip?
Knowing the different types of weatherstripping will help you choose the right one for your needs:
Compression Strips
Made of rubber or vinyl, these work well for doors and windows that close against them.
V Strips
Good for flat, smooth surfaces, these are often used on the sides of doors and windows.
Door Sweeps
These seal the gap between the bottom of the door and the floor, keeping out drafts and dirt.
Self-Adhesive Foam Tape
Great for many applications, this tape can fill gaps around windows and doors easily.
Choosing the right type for your specific application is important to get the most energy efficiency.
Installation Tips for Weatherstripping
Installing weatherstripping can be a simple DIY project. Here are some tips to help make sure you do it right:
Curățați suprafața:
Make sure the frame is clean from dirt, praf, and old adhesive. A clean surface helps the new weatherstripping stick better.
Measure Accurately
Measure exactly where you’re going to put the weatherstripping. Cut it to fit, leaving a little extra for adjustments.
Apply Evenly
Stick the weatherstripping down firmly, making sure there are no gaps. Push it down and check for any areas that might need more adhesive.
Test the Seal
Close the door or window to see if you feel any air coming through. If you do, make adjustments as needed.
Dacă puteți, install weatherstripping on a mild day. The adhesive will stick better.
Benefits of Weatherstripping
Weatherstripping is a great investment for several reasons:
Energy Savings
It can lower your heating and cooling costs significantly. A properly sealed home can save up to 20% on energy bills.
Increased Comfort
It eliminates drafts and keeps your home at a consistent temperature.
Longer Lasting Windows and Doors
It protects against moisture damage, which can cause rot and decay.
Noise Reduction
It can help reduce outside noise, making your home quieter.
Concluzie
Take a few minutes to check and upgrade your weatherstripping, and you can enjoy better comfort and energy savings. Check your home today to make sure it’s cozy and efficient. Spend a little money on good materials and do a good job installing them, and you’ll enjoy a better living space and save money in the long run.